17 May Going Solar, Day 3
We had a flurry of activity today, with both the roofers and solar installers on site.
Sullivan Solar Power, our chosen solar provider, arrived to install the first part of the solar system, which are the stand-offs (or legs) for the railing that the solar panels will mount to. These stand-offs have to be installed before the roof shingles. In general, nothing should sit directly on your roof, because it will inhibit your roof’s ability to shed water. And anything that penetrates your roof membrane needs to be properly sealed against leaking. With a new roof installation, sealing around the stand-offs for the solar railing is easier because they can be integrated into the roof installation.
Sullivan also installed our inverter panel near our new electrical panel. The inverter is a key part of the solar system. Solar panels create “direct current” or DC. Your home’s electrical system uses “alternating current” or AC. The inverter converts DC power into AC power so it can be used by your home. Sullivan also installed an electrical conduit that needs to penetrate the roof to allow the wiring from the panels to connect back to the inverter.
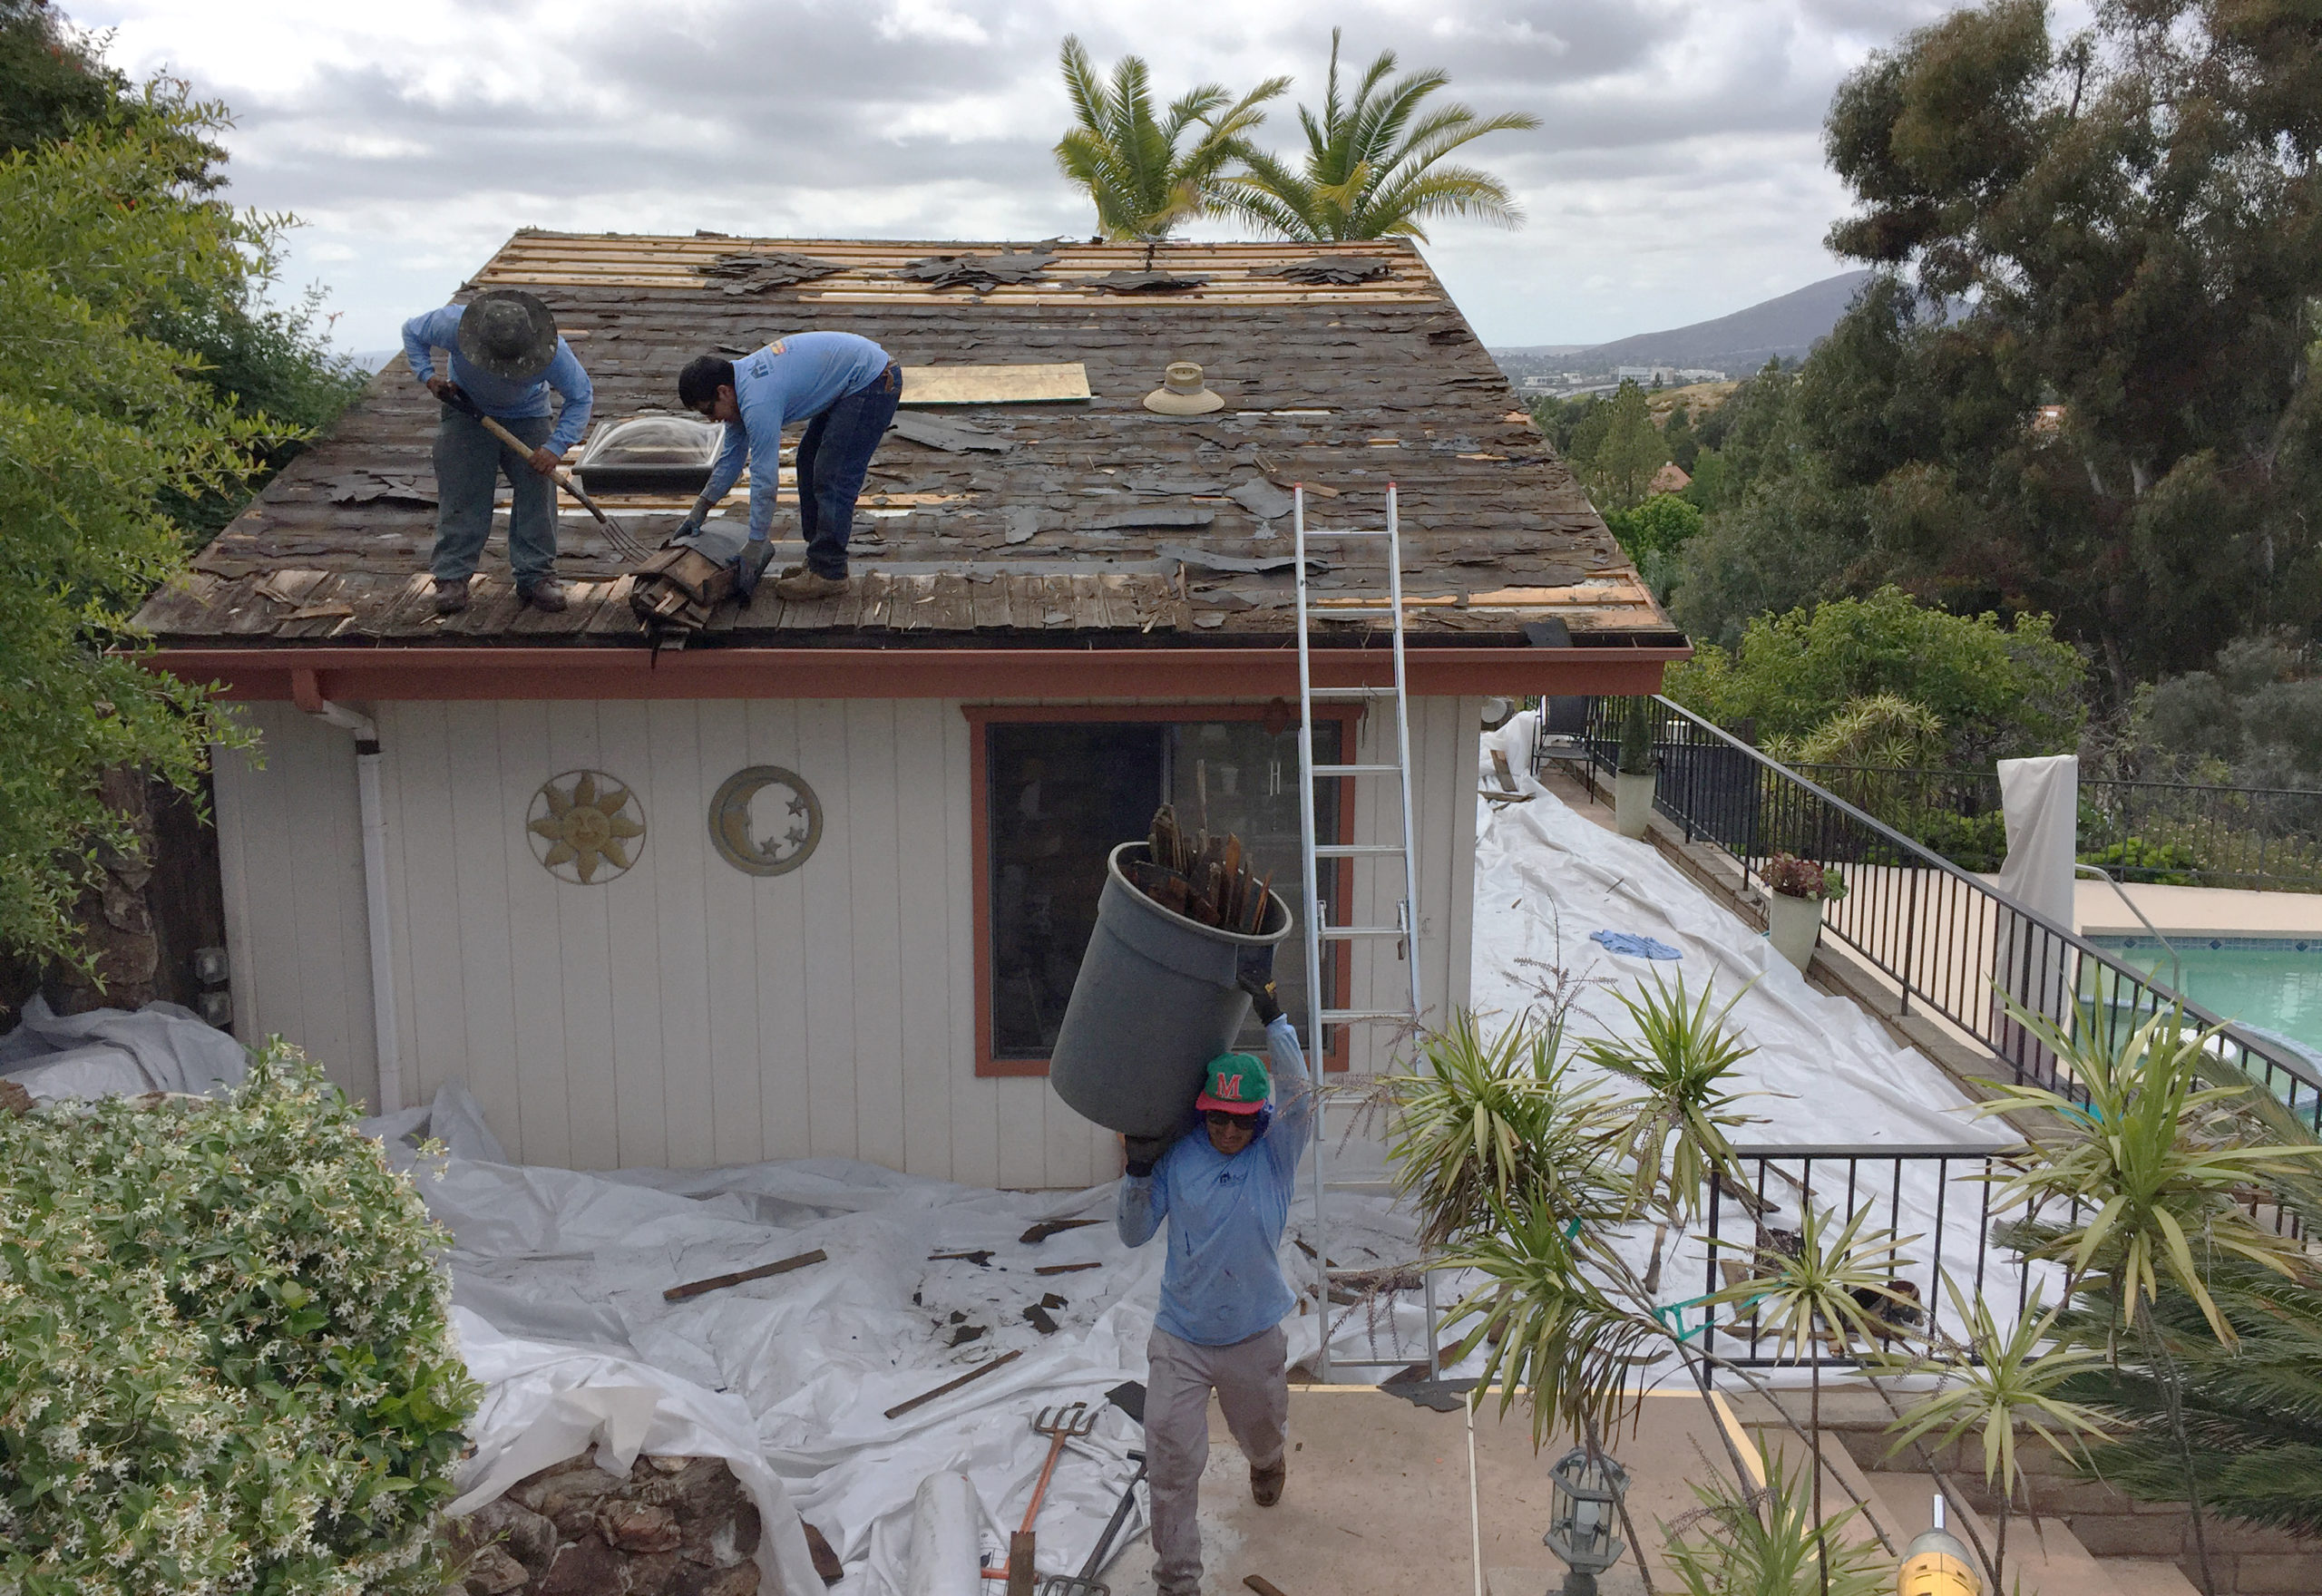
Back to the roofers. They’re almost finished with sheathing the roof and repairing the unexpected water and termite damage to the house. Unfortunately, the water damage in the eaves is extensive enough to require most of the perimeter eave sheathing to be replaced.
While writing this post, I also had a moment of panic when the internet suddenly dropped. For some reason, I had a hunch something happened outside. Sure enough, it turns out that our internet cable was accidentally severed, when the fascia board that it was attached to, was cut. A good reminder: before demo, have the roofers confirm the location and function of all cables and wires attached to the eaves.
The roofers also demolished the roof for the studio behind the house. The studio was used as a pool house after it was built shortly after the house in the 1970s. It has the same cedar roof. We thought it wasn’t insulated, so we planned on adding 2” of rigid insulation and extra framing. However, we had a pleasant surprise during demo: we discovered that it’s already insulated, so this will be a savings in money and time. The existing insulation is even foil-faced, which helps reflect the radiant heat from the sun away from the structure.


Location, Orientation, and Exposure
How is the location of the panels determined? Designing the arrangement of your solar panels is the result of an analysis of your property and siting, in relation to the most beneficial sun exposure. Once you know your house can physically accept a solar system (see Day 2 in this blog series), the first part in designing the system is considering:
• Where your house is located (latitude and longitude)?
• How much roof area you have facing the optimal solar direction?
• Are there neighboring buildings, trees, or other obstructions that will shade these surfaces and decrease your solar power generation?
Generally, you want large, unobstructed, unshaded, south to southwest facing roof surfaces. There are ways to tune the panels to the optimum angle, but most of the time, panels are installed parallel to the existing roof’s surface.
To get a quick understanding of your conditions, load your address into a solar calculator such as Energy Sage or PV Watts. These calculators analyze your specific property and perform calculations using satellite images of your house, sun-path data, weather data, and utility data. You’ll get a sense of how much power you might be able to generate with solar. The results of these calculators will help you be much more informed as you start interviewing solar companies. Here are some other great resources:
There are many solar companies to choose from. One of the reasons we chose Sullivan is because of the clear, straightforward, and comprehensive analysis they offered for our project. Their presentation, level of engagement, and their system design and product specs gave us the most confidence. Choosing a solar company is a critical decision. I’ll talk more later about questions to ask and qualities to look for.
No Comments